
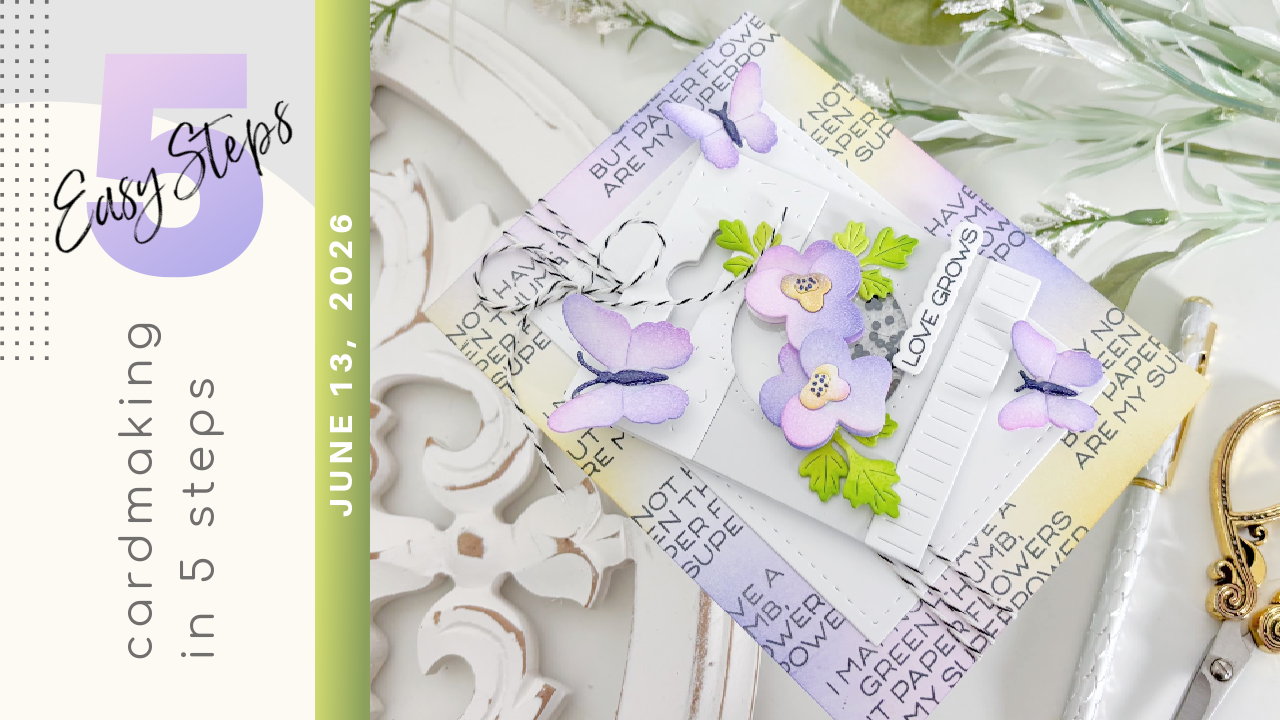
Cardmaking In 5 Easy Steps – June 13, 2026 – Cards & Coffee Time
Happy Saturday, wonderful makers! .
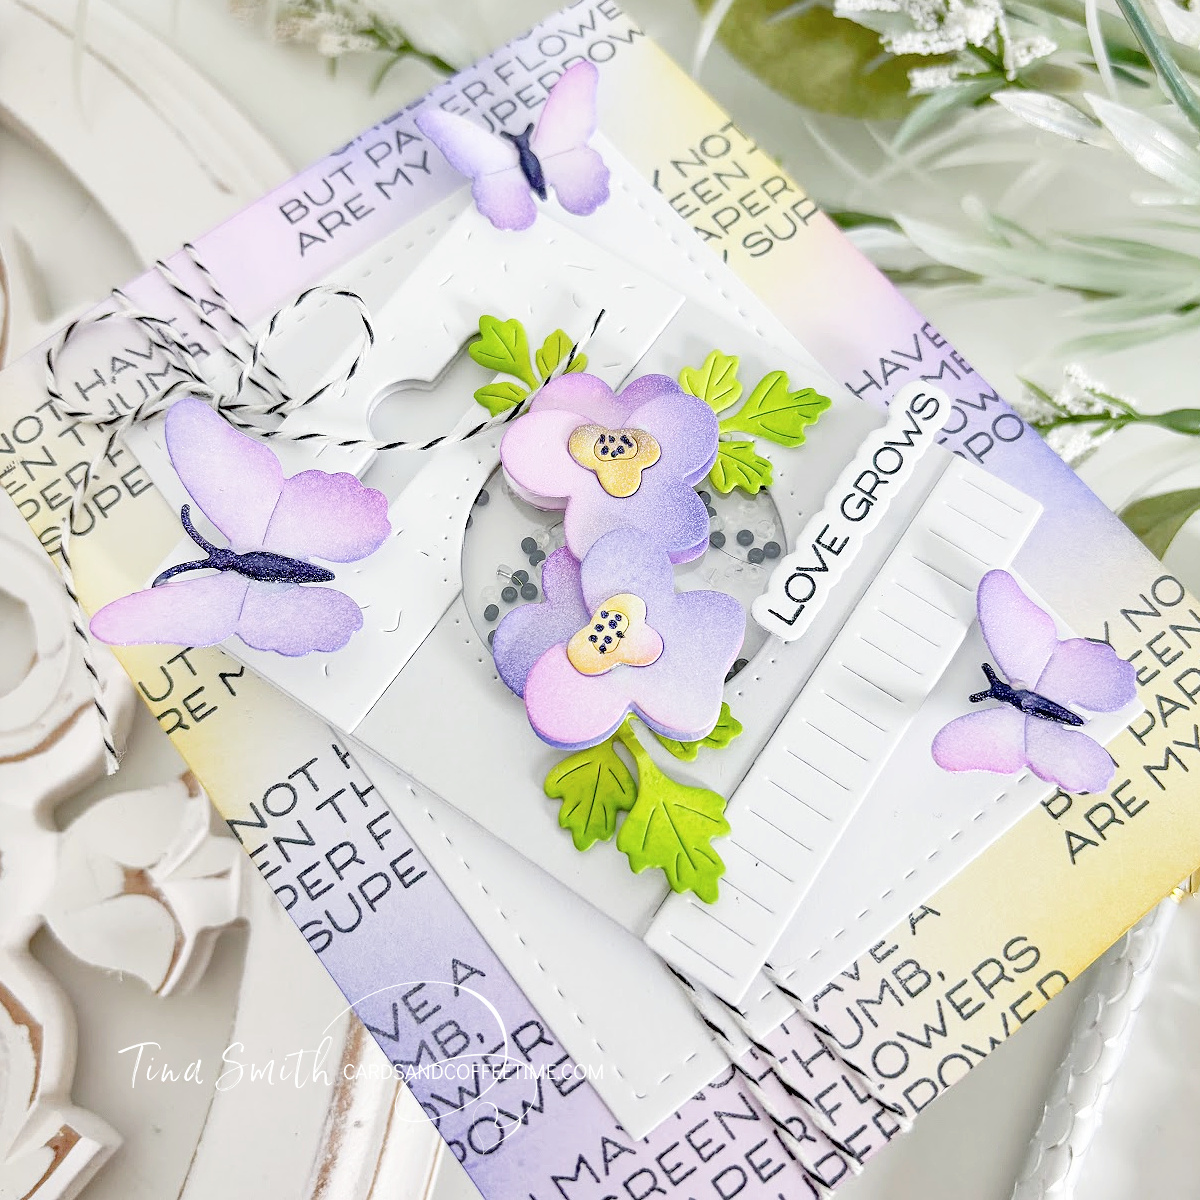
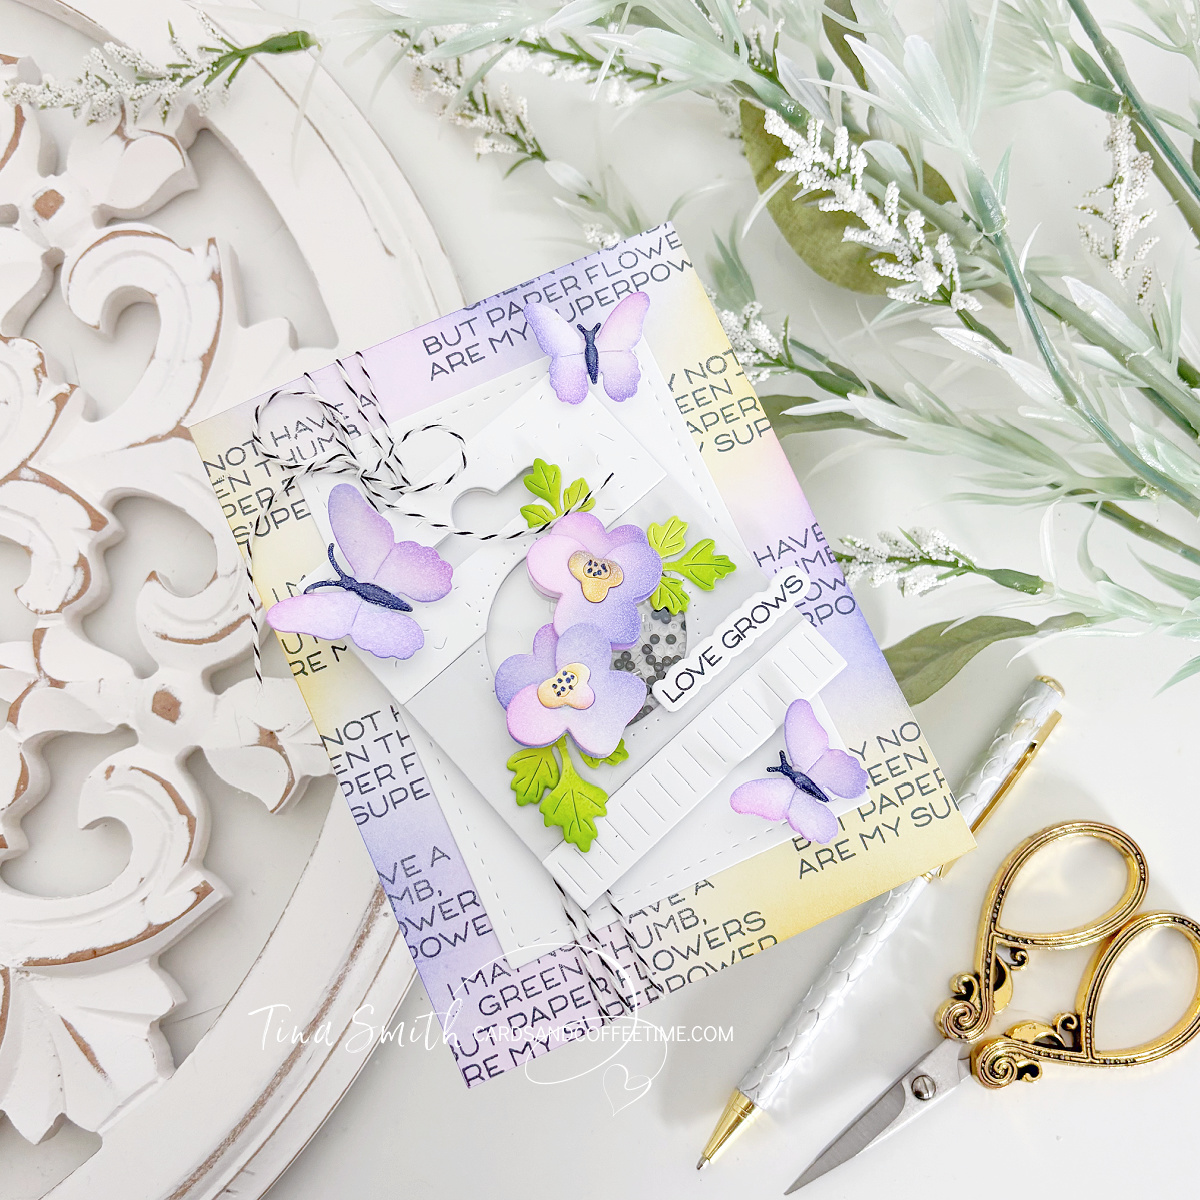
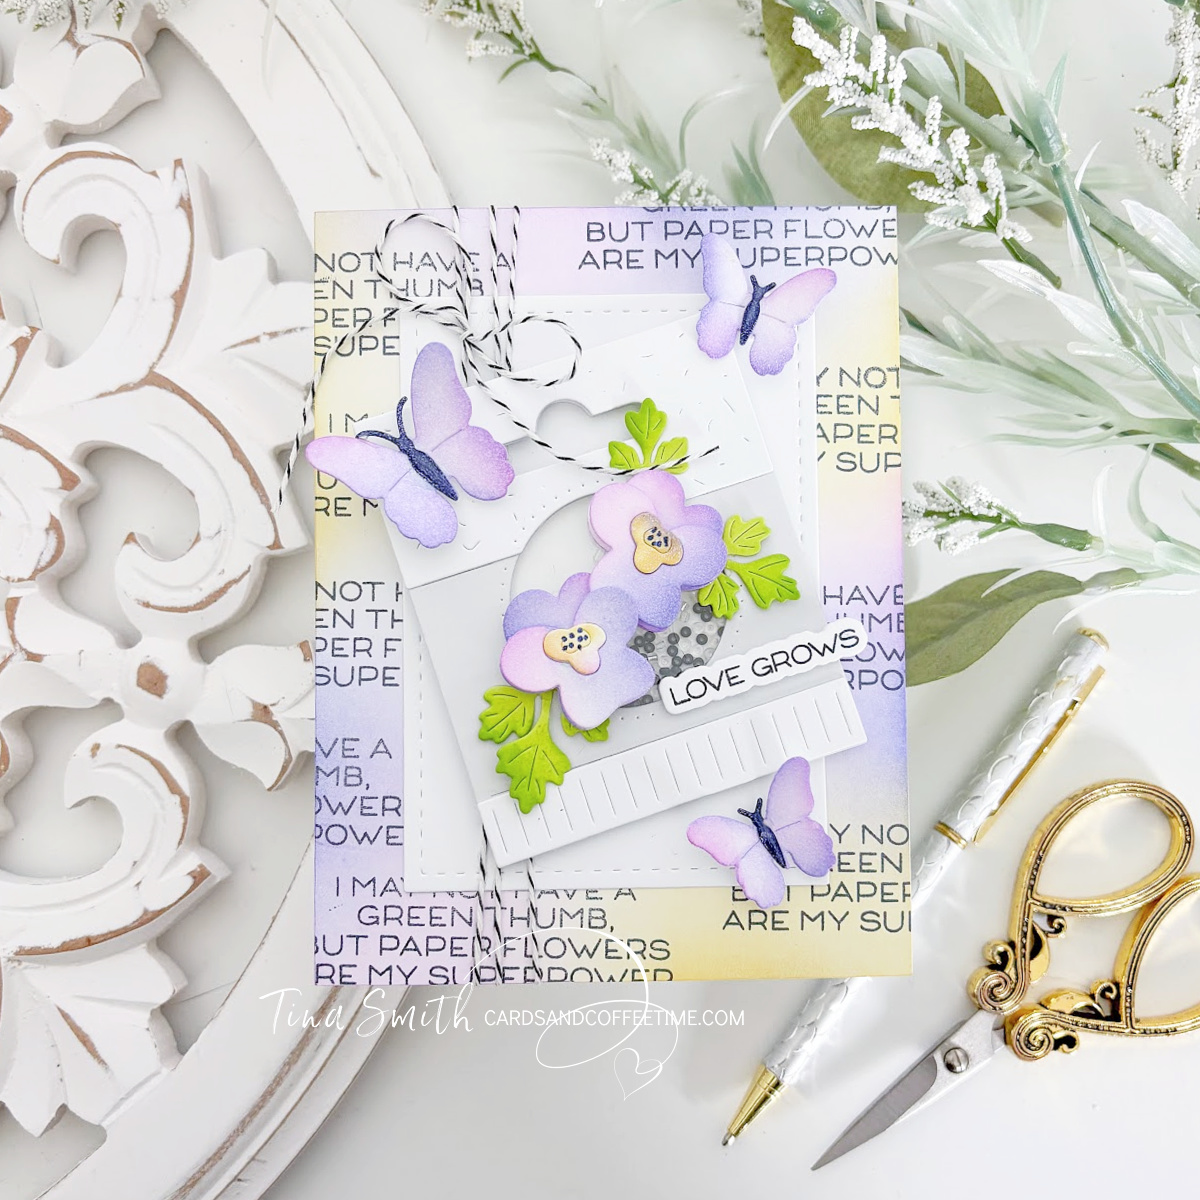
I finally sat down with the new Waffle Flower Seed Packet die set from the fabulous Waffle Flower Green Thumb Release . It turns out it is the exact right size for a card focal point, which saved me from my usual agonizing over spatial dimensions.
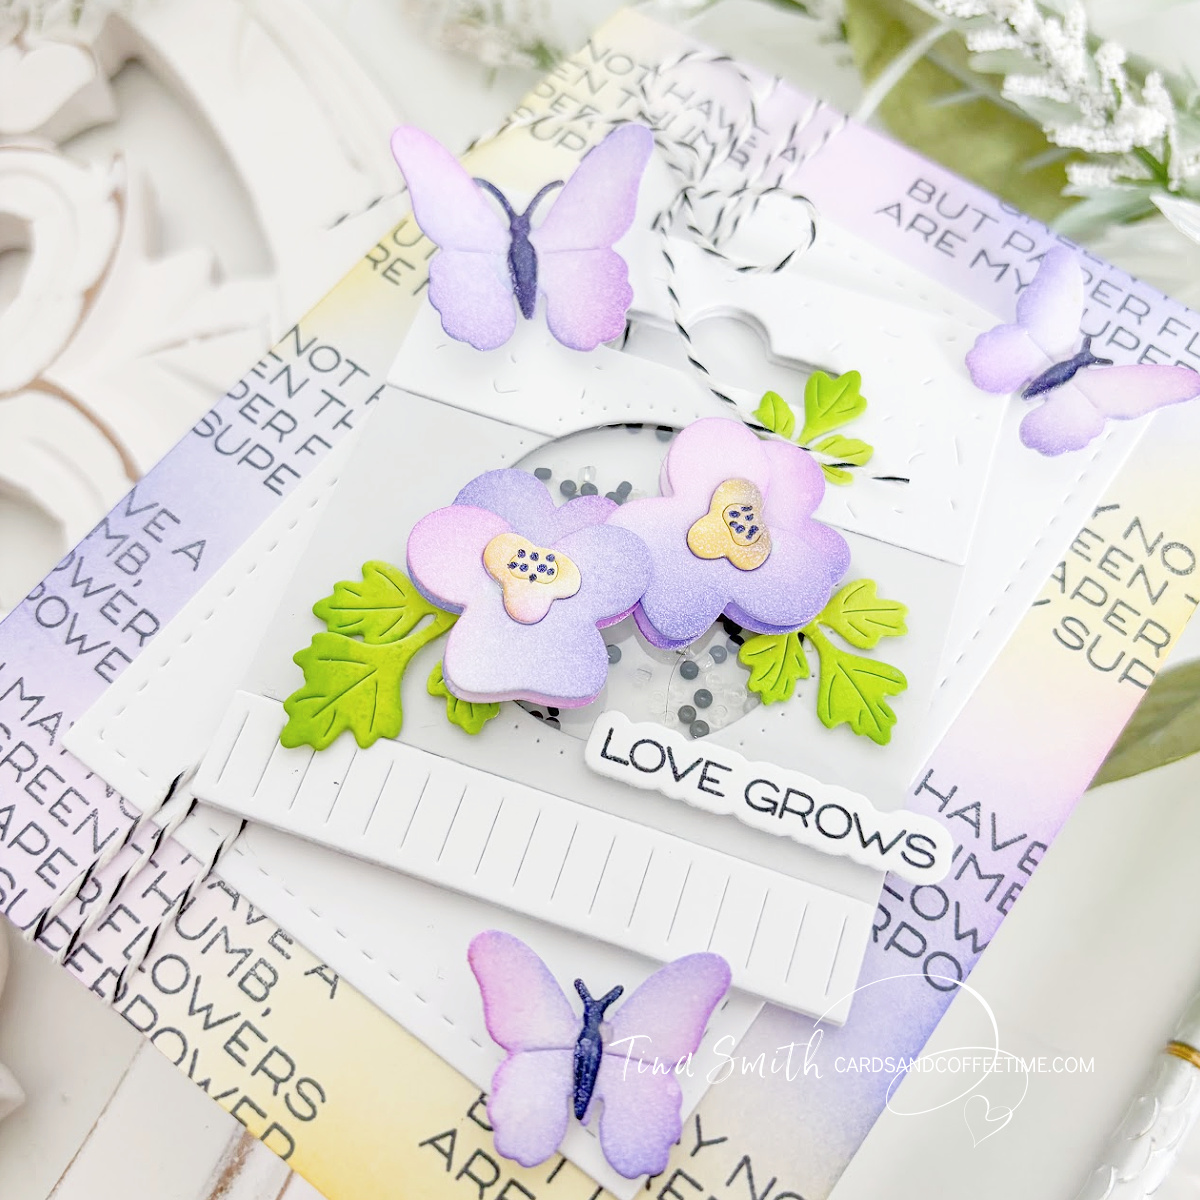
Because a seed packet demands actual movement, I turned this into a shaker card. I picked the pansy from the coordinating Icons set and stuffed the inside with black and clear seed beads. It does not just look like a seed packet; it literally sounds like one when you shake it.
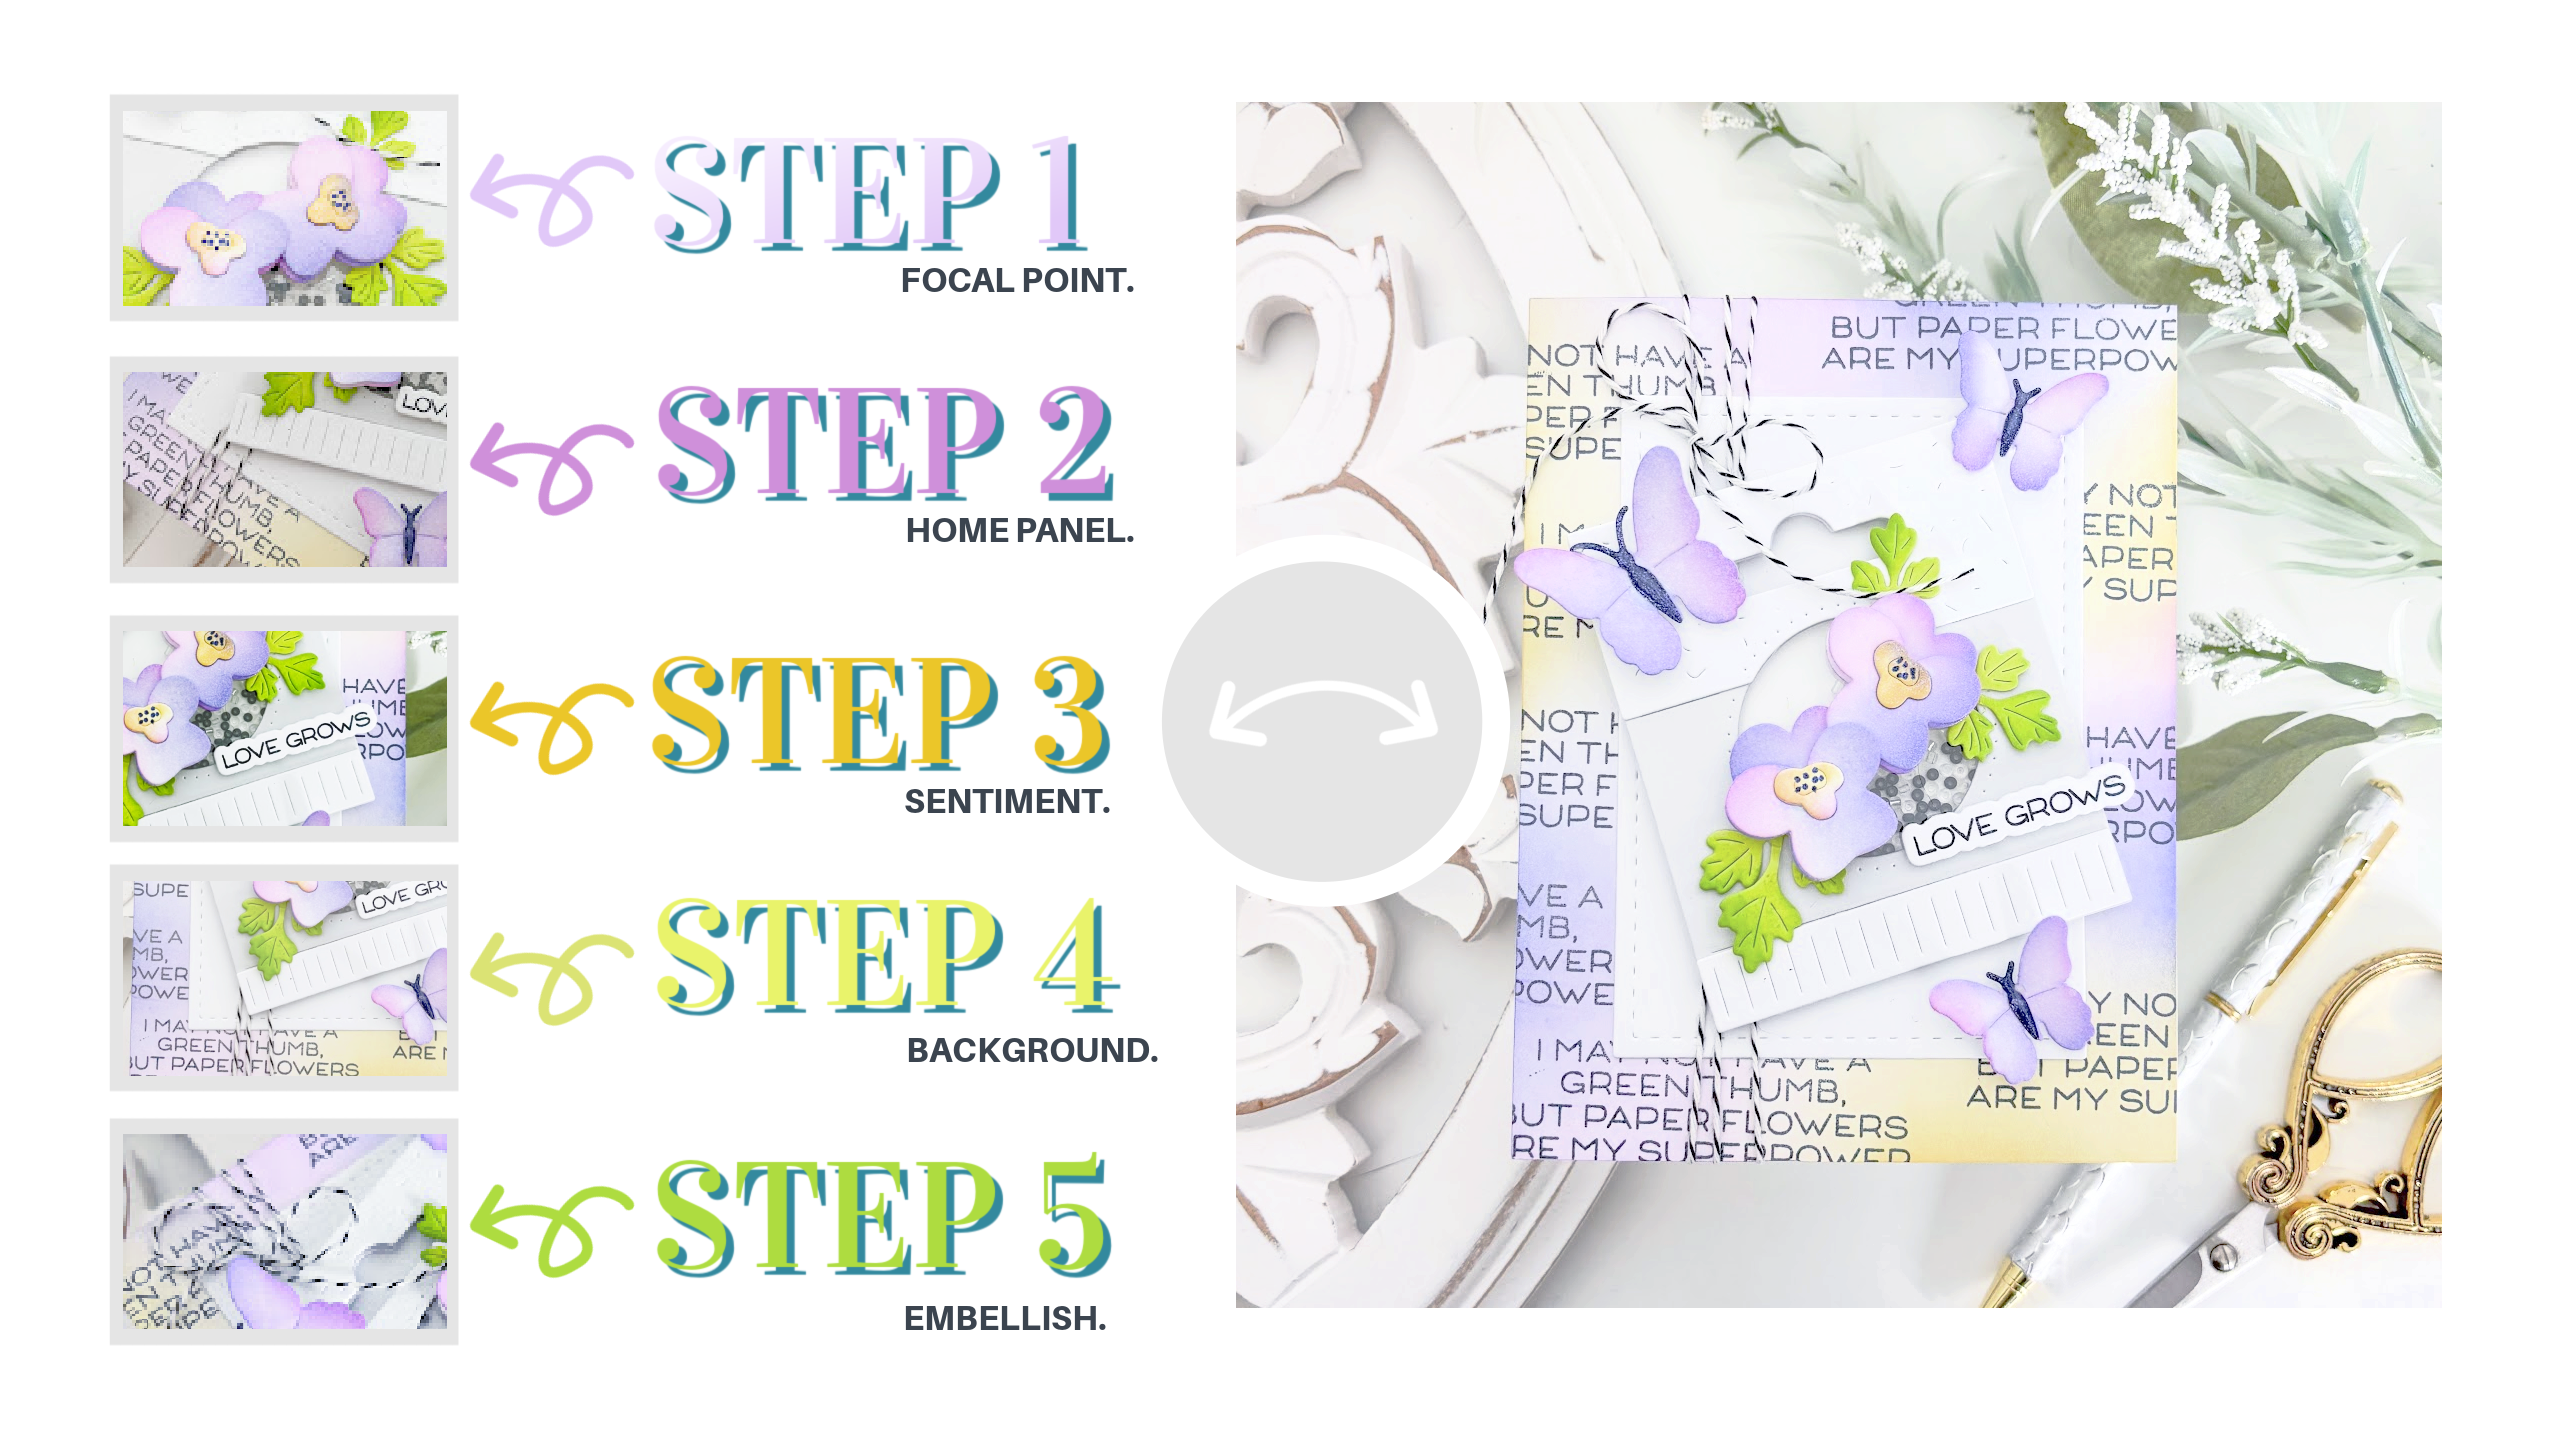
This project follows a simple five-step anatomy: a solid background, a home panel, a greeting, your focal point, and just enough embellishments to look fancy. Let’s get into the step-by-step tutorial so you can make your own noise-maker.
Grab your favorite beverage, get ready to plant some pansies, and check out the step-by-step video tutorial below. Here’s to a day filled with sunshine, smiles, and endless creativity, where every moment holds the potential for creativity and discovery! Let’s embrace what we love to make and share them with the people we love! Crafty hugs, Tina
Supplies
Check the Description area of the YouTube Video for the FULL SUPPLY list!
Waffle Flower Seed Packet Die,
Waffle Flower Seed Packet Icons Die,
Waffle Flower Happy Herbs Die,
Waffle Flower Postage Collage Garden Critters Die,
Waffle Flower Green Thumb Sentiments Stamp & Die COMBO,
Waffle Flower A2 Stitched Rectangles Die Set,
Watch the Tutorial , Just Click Here!


While the background for photographing the display of your cards is lovely I find it too busy and distracting. Most of the cards you have been promoting are very light and/or pastel and they tend to be lost in the display. Your beautiful cards would benefit from a solid darker display.
LikeLike